
3 Steps to Preparing Images for your Website
So you’ve got a beautiful new website that’s ready to go, but now it’s time to maintain it.
The maintenance is just as important as the build. If you don’t prepare your images for the web, then it could impact the speed of your site. When images take a long time to load, the user gets frustrated, which can result in them leaving the page.
So aim to follow these steps when preparing images for your website.

Step 1. Open the file in PREVIEW
If you have a Mac, you can simply open the image and it will default to preview. If you use Windows, this tutorial is not for you, sorry!
Step 2. Go to TOOLS, Adjust Size
Change the file size to around 1500px, depending on where it is going. For banner images, you will need to check your website’s theme requirements for the minimum pixels. 1500px may be too small and result in pixelation for banner images. So go by the recommendations of the theme. There’s no hard and fast rule here.

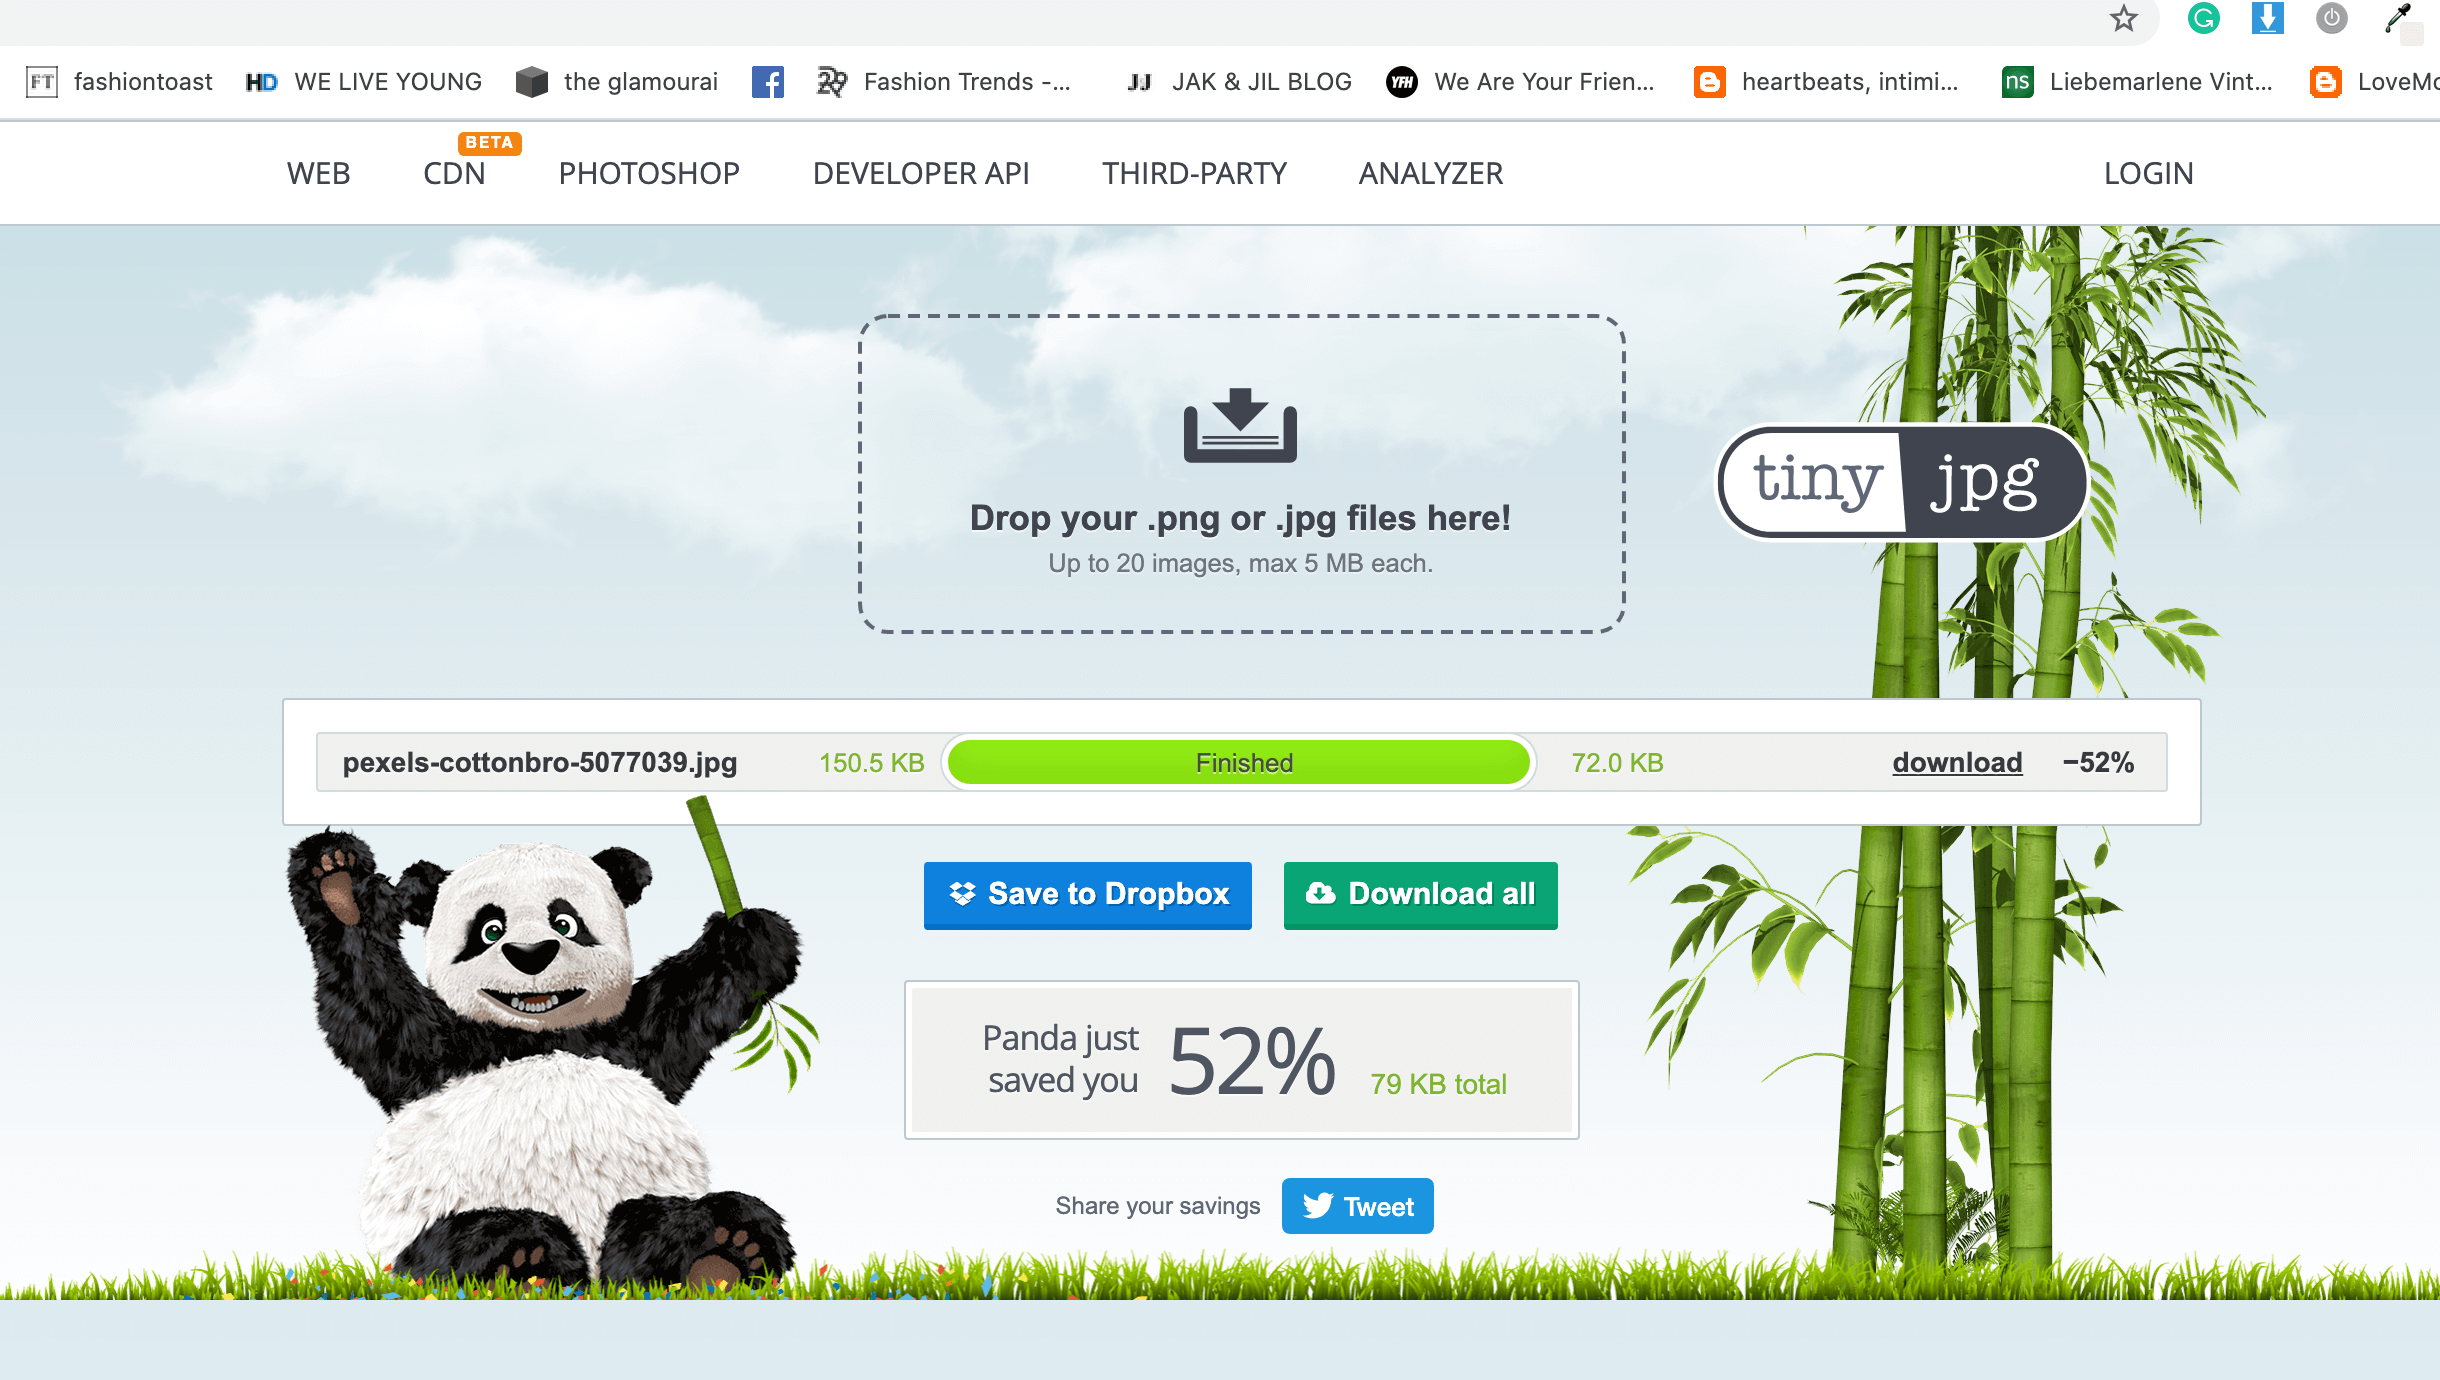
Step 3. Upload to TingJPG or TinyPNG to compress
Depending on if your file is a jpg or png, upload your file to one of the below sites and this will reduce the file size without reducing quality. This is a really important step!
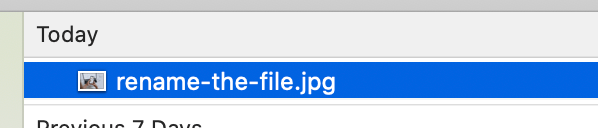
Step 4. Download the file and rename it
Add hyphens in between in each word. Write the keywords in lowercase. This will also help you organise your files by giving them clear names.
Step 5. Upload it to your site!
Your image is ready to go. Double check that the file size is sitting between 150kb to 250kb max. If it’s bigger, then run it through TinyJPG a second time.